Grasshopper Gradients Management
I finally had some time to systematize (at least largely) the topic of managing and creating gradient components within Grasshopper. This topic was initially addressed in August 2022 before I even developed and published the first release of Ambrosinus-Toolkit. In fact, my first plugin for Grasshopper was Gradient Generator & Utilities.
Apart from a bit of history (yes, certainly personal) with Ambrosinus-Toolkit v1.2.5 I am about to introduce 5 new components, in this article I will only show you 4 new ones relating to gradients – I will remind you this article to read more about the WireX component the newest one.
Below is the summary sheet:




Gradient Decode
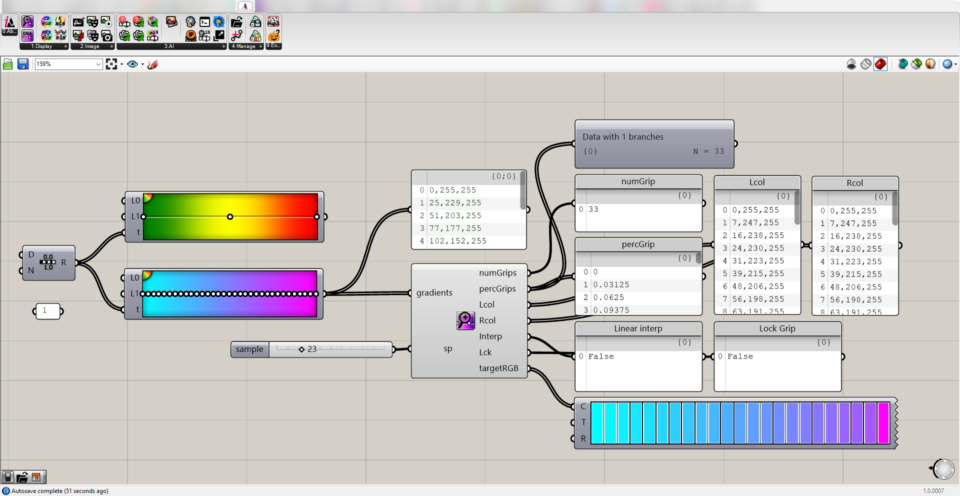
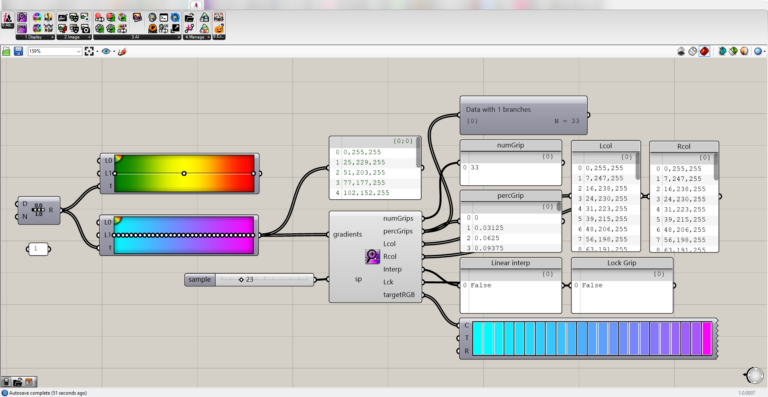
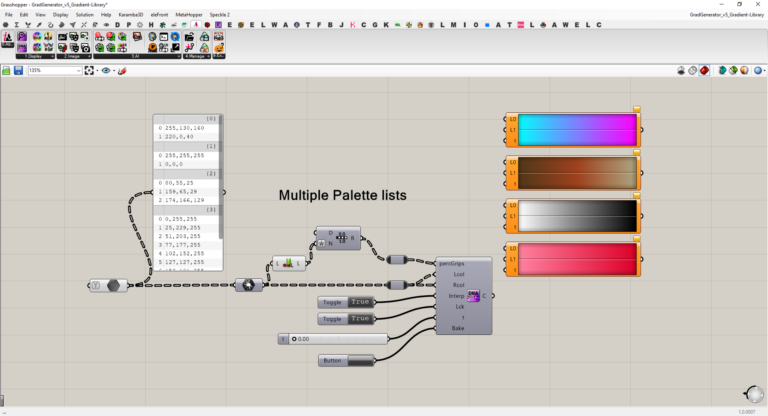
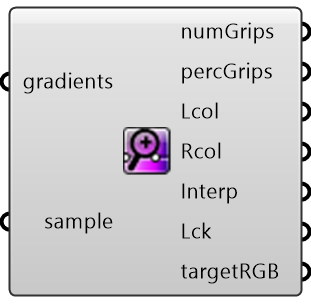
This component allows you to decode a list of gradients and obtain all the main information associated with them: the number of grip points, percentage of grip points positioning, RGB colour to the left and right of the grip point, linear interpolation and finally whether the grip point lock is active or not.
What is possible to do?
In addition to deconstructing a gradient component, it is possible to simplify the overall number of grip points (an operation that makes no sense where the grip points have a different RGB value on the left and right). Simplification is currently limited to one gradient at a time, so if the user passes more than one component as input this function is disabled by default.
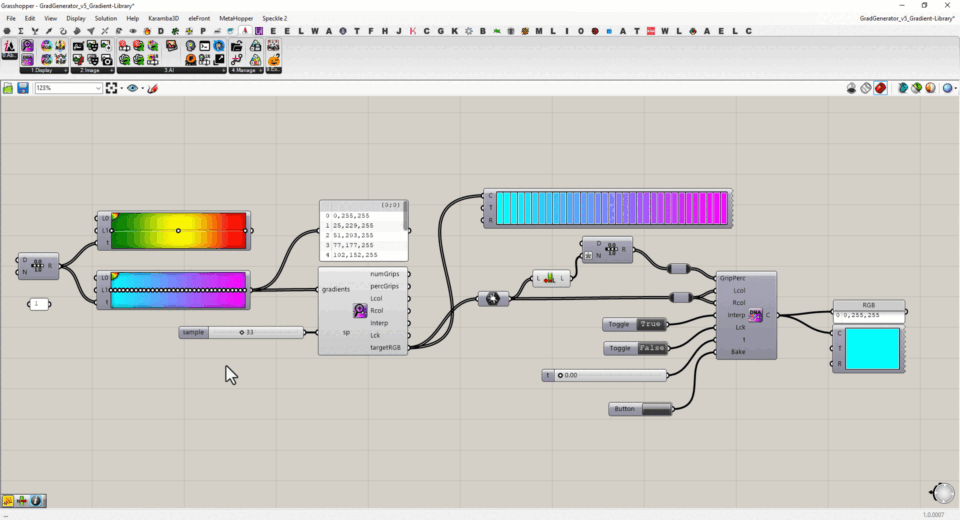
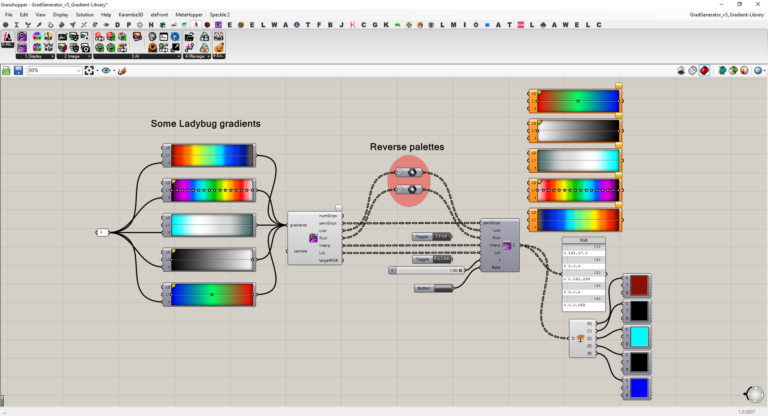
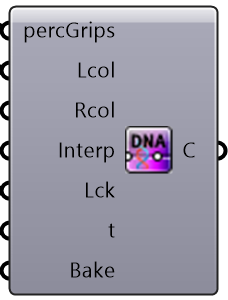
Using the GradientGen component in combination allows the user to further manipulate the results produced. Like generating a simplified gradient, quickly create the same gradient with an inverted colour scale and generate multiple gradient components from a simple DataTree of RGB value lists. Both GradientGen and GradientDecod have been updated in order to manipulate some DataTree.
It is likely that in a subsequent update will be implemented the possibility of simplifying (and therefore generating) multiple gradient components.
Save Gradient Library
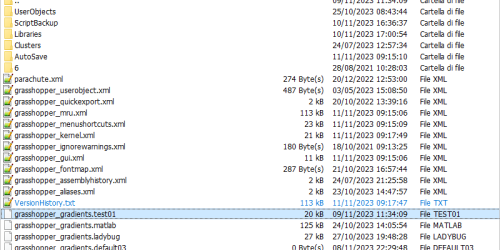
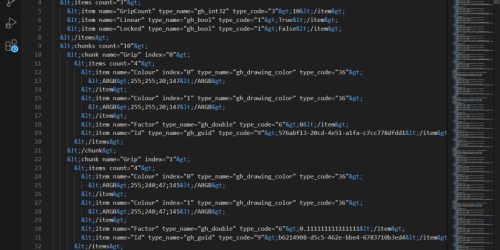
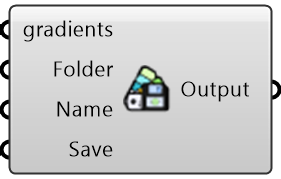
This component, together with the following one, enhances the possibility of manipulating and managing the XML file responsible for displaying the gradient palettes. In particular, the grasshopper_gradients.xml file is stored in the Grasshopper Settings folder.
My basic idea is to create an XML-encoded file of some custom selection of Grasshopper gradient components, give it a custom extension (CustomExt = New Library Name) and store it in the Grasshopper settings directory. Basically, the user can store this file everywhere and then drag&drop it into the aforementioned path.
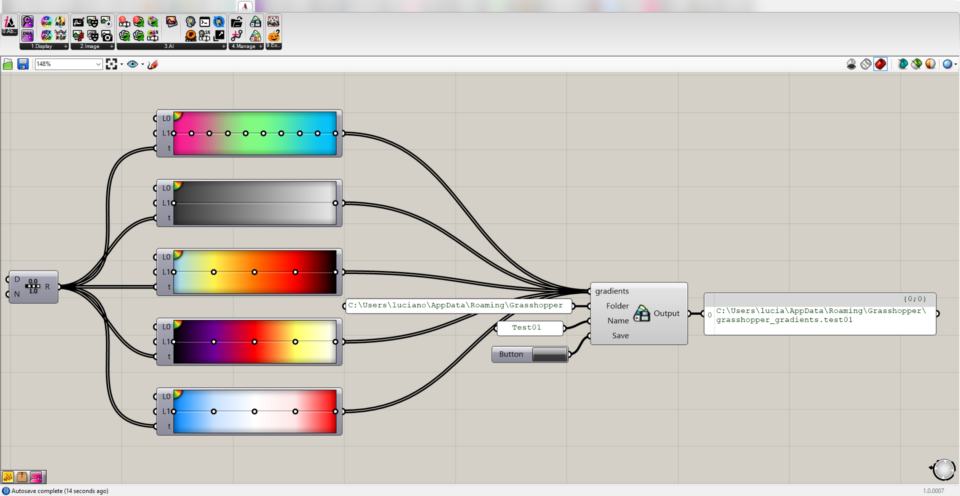
Switch Gradient Library
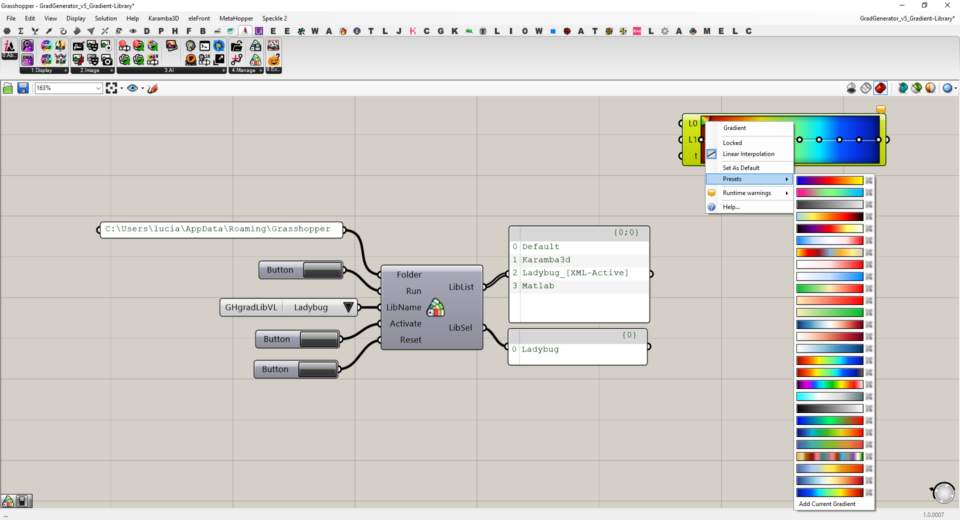
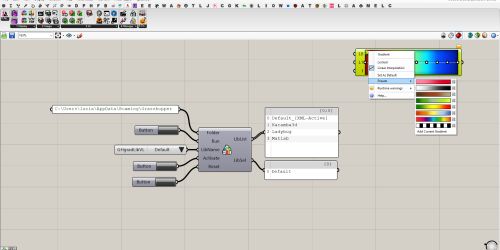
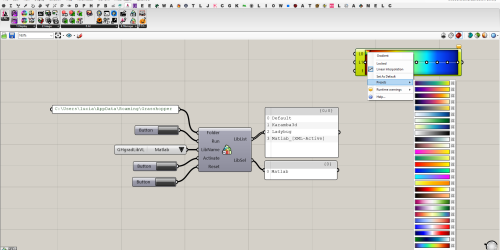
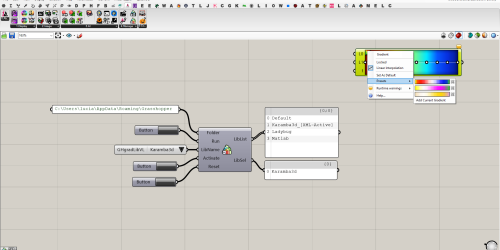
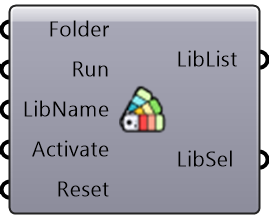
Starting from the basic idea, the next step is to manage the grasshopper_gradients and related custom extensions, to allow the user to change the default gradient library with the custom ones. Generally, when you start Grasshopper the default library is not displayed in the list of files in Grasshopper settings – you will not see a grasshopper_gradients.xml file. However, if you have already saved a custom library and are currently using it you will see the mentioned XML file. My advice to make the most of these new components is the following:
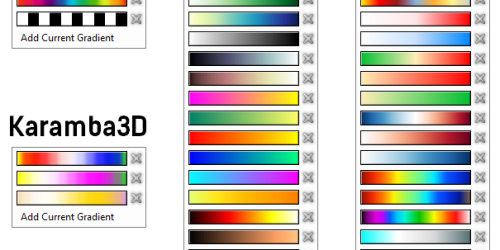
- Get rid of “grasshopper_gradients.xml” files, in the Grasshopper Settings folder, renaming them with a custom extension name (e.g.: grasshopper_gradients.xml –> grasshopper_gradients.CustomExtName); Alternatively, remove the grasshopper_gradients.xml if you have it and the copy&paste my colour palette selection (GH-Default, Ladybug, Matlab, Karamba3D gradient colours);
- Run the SwithcGradientLib component and set which one you want to activate;
- In case you want to add some new palettes, firstly click on Reset (so your library won’t have any “XML” file and then add your new palettes (e.g.: “grasshopper_gradients.new1”, “grasshopper_gradients.new2”, etc…) into the Grasshopper Settings folder;
- Now Run the SwitchGradientLib to manage your palettes selection
Video demo
if you watch it on my YouTube channel it is possible to jump among different highlights 😉
Below you can download my colour palette selection as previously described! 😉


