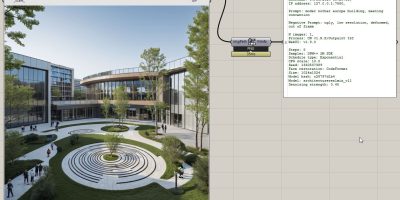
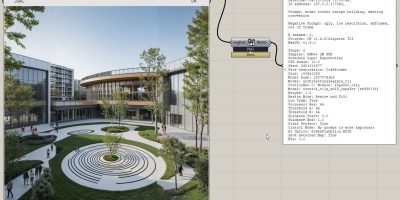
AI Outpainting with Stable Diffusion via Grasshopper
📣 The Ambrosinus Toolkit v1.2.8 now includes a new feature: AI outpainting. This addition enhances the Grasshopper platform with another AI tool that utilizes Stable Diffusion technology.
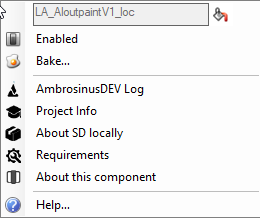
💡 Before describing this new component, let me share with you some little updates about ATk v1.2.8. I have removed the alert-message from the AItxt2img component when switching from ControlNET v1.0 to ControlNET v1.X, this latter one is fully supported (except if you try using the “mlsd” annotation model..maybe they will update this model soon). I have noticed that authors of A1111 project have forced the WebUI autolaunch even you don’t thick the arguments in the LaunchSD component, don’t worry if you want to avoid this, go to WebUI>System and select Disable from the autolaunch menu. See below:

💡 I have updated all the current Stable Diffusion Samplers available in the WebUI client, consequently also all the value lists inside the main gh demo file downloadable at the end of this article. Please, start always from that file to understand how to use these AI components. I have updated the internal mechanism for generating the metadata information embedded within the PNG files. generated by AItxt2img, AIimg2img and AIoutpaint components (this is because of some A1111 and CN code updates). From toolkit side there are two small updates, the first one regards the ViewCapture component, I have added the possibility to do not save Viewport as a Named view (so you can use it as a screenshot generator).
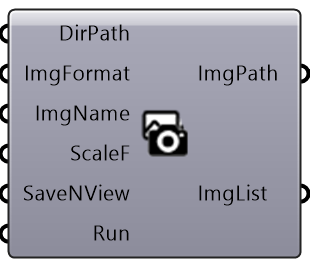
Let’s dive back into the “AIoutpaint” component
The “AIoutpaint” component carries out a two-step process for generating and refining your image project, with the latter step aimed at eliminating certain picture imperfections. It’s time to delve into this Stable Diffusion feature that’s been incorporated into Grasshopper!
The logic
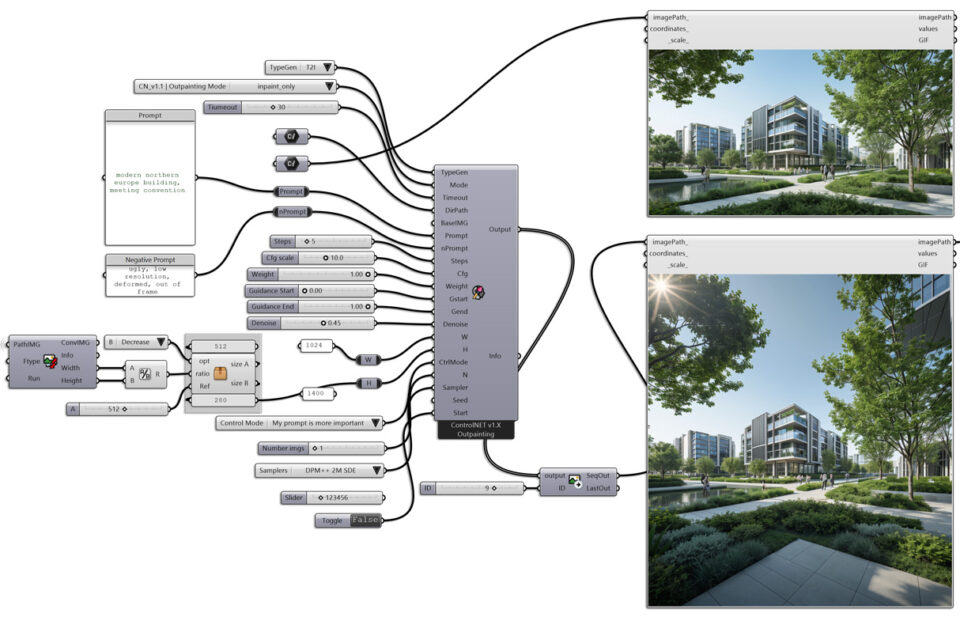
This new component performs two steps if your creation needs it. The workflow consists of a first step which generating the image beyond the frame defined in input (so out of the image sizes boundaries) this is a traditional text-to-image procedure (T2I); if the image has some imperfections or not a smooth transition between the original size area and the outpainted one, the architect/designer can execute a second step which is the traditional image-to-image procedure (I2I) to clean the final image.
- Text-to-image (T2I) params: after selecting the T2I TypeGen and uploading the BaseIMG, the user can set up all the parameters except the Denoise value. Basically, at this step, the user has to change the image width/height even both. Now run the process.
- Image-to-image (I2I) param: if you notice some imperfections in the GenAI image, perform this process by leaving all parameters as same as they are except Denoise. This latter one is the only I2I param relevant to refine the final image. It is truly important to preserve the main details in your image getting lower the Denoise value, I suggest between this range of 0.1-0.4, otherwise, you will get a sensible alteration of the final image. At this point, before running the process, you can increase “Steps” value by 30% up to 50% of the original value (due to the denoising effect) for a better result. Now, run the process through “LaunchSD” component.
Main component
Below is the main component by performing AI outpainting with T2I and I2I procedures:

Grasshopper demo file
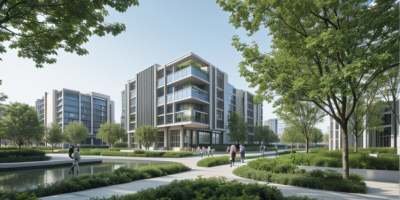
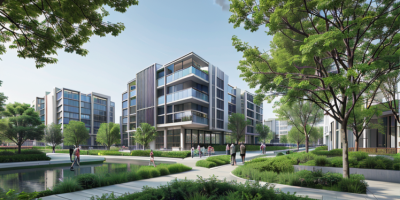
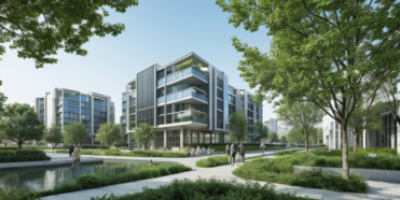
Some "outpainted" options
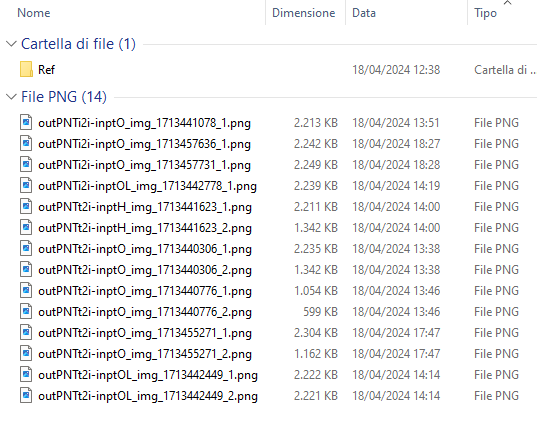
I have used a specific way to name the files produced by “AIoutpaint” component:
– The first name-segment gives the type of generation procedures adopted: outPNTt2i, outPNTi2i;
– The middle one what type of inpainting methods: inptO (inpaint-only), inptH (inpaint-only Harmonious) and inptOL (inpaint-only Lama);
Metadata infotext embodied to PNG files
I attempted to gather only the most pertinent information, which comes from all the input parameters.
