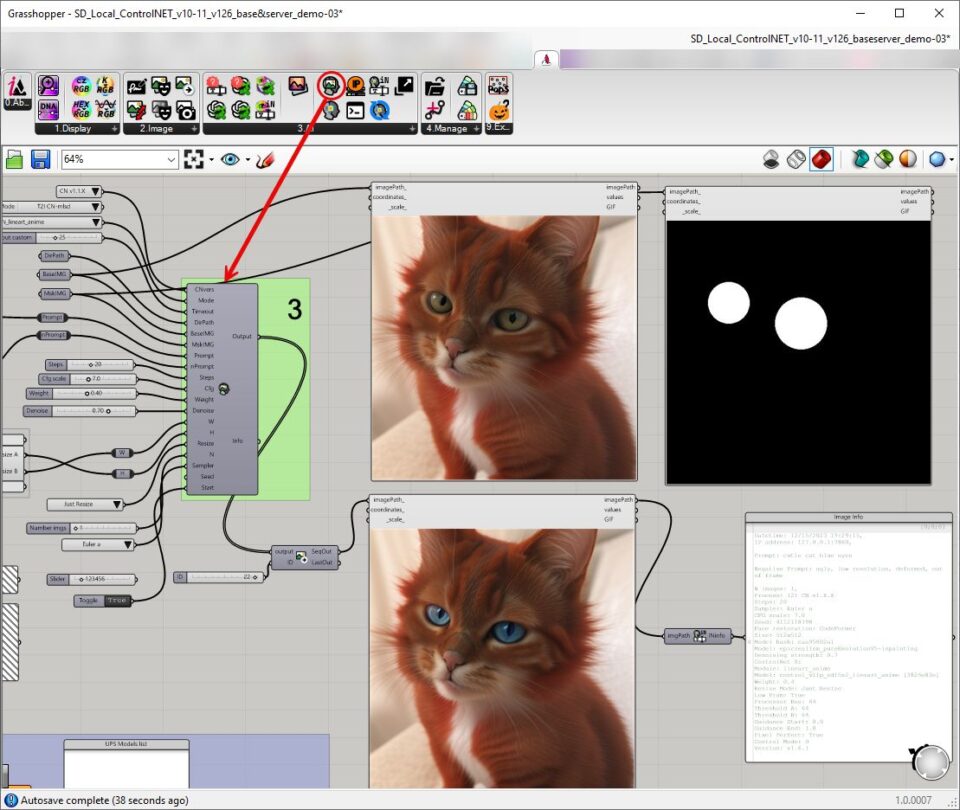
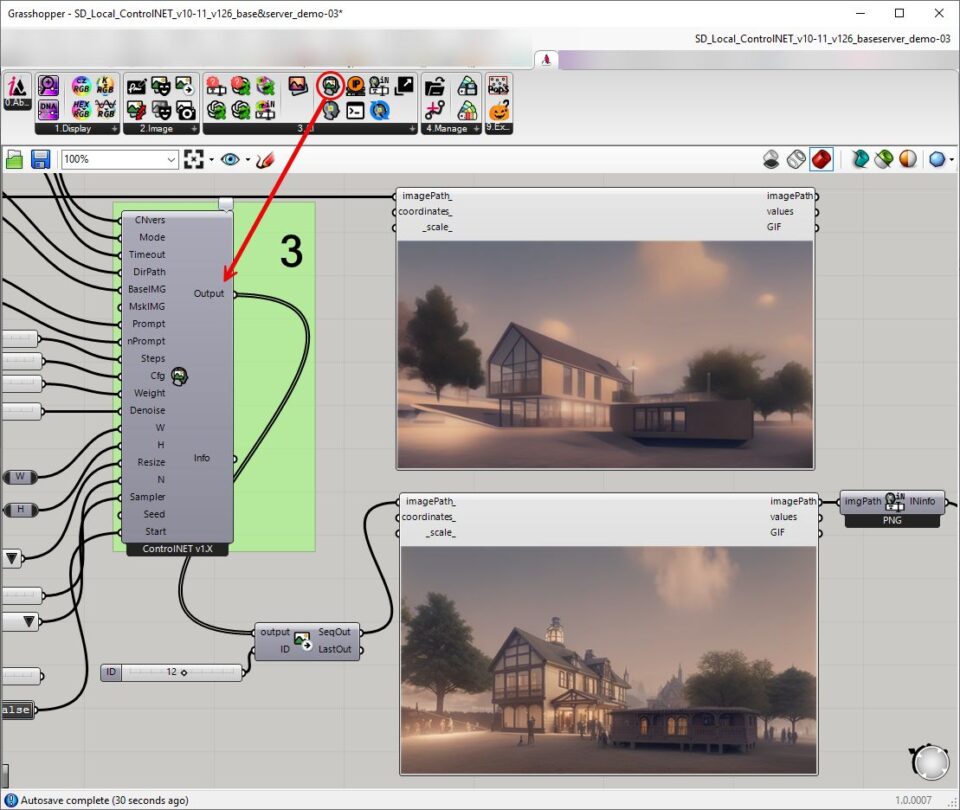
Since the Ambrosinus-Toolkit v1.1.9 has been implemented with a new feature: Run Stable Diffusion locally thanks AUTOMATIC1111 (A11) project and ControlNET (CN) extensions. It is another AI tool that brings artificial intelligence power inside the Grasshopper platform.
AI as most people already know represents, again, the new paradigm shift in our Digital Era.
Recently one of my goals has been to share and elaborate computational solutions, more or fewer experiments, to offer anyone the possibility to explore their projects through some tools based on artificial intelligence. Having established this, two particularly valuable projects in this sense and which in my opinion will make a big difference in the coming months and more generally in the development of web-based applications are Automatic1111 (well-known to nerd and geeky users 😉 )
With Ambrosinus Toolkit v1.2.6 I finally brought the “Variation” mode to the locally executable Stable Diffusion-based AI component package.
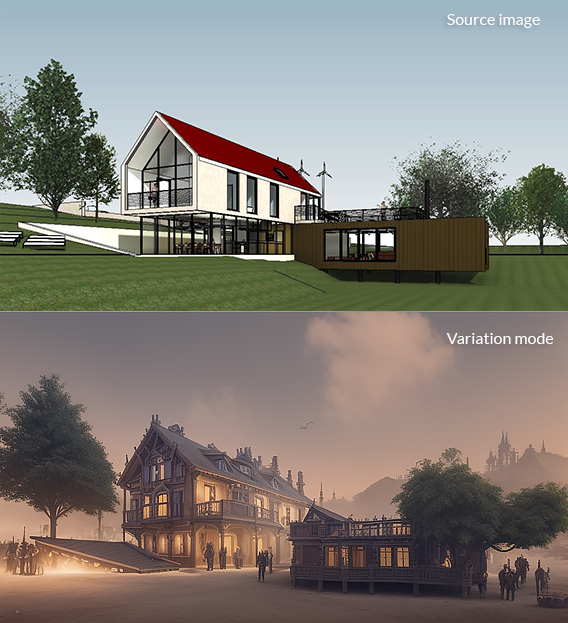
This well-known mode is based on the principle of altering the initial prompt and the image provided as input. In fact, unlike Text-to-Image (T2I), Image-to-Image (I2I) always requires an initial source image.
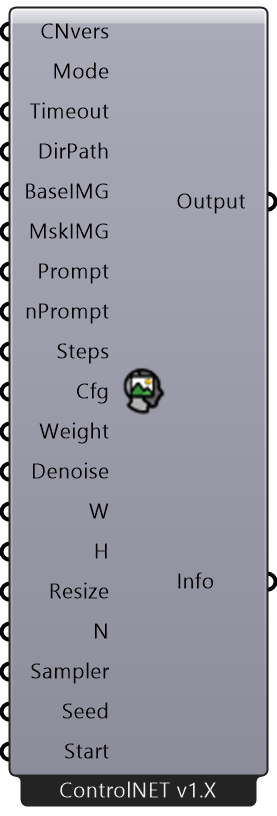
Through the new Grasshopper component “AIimgToimg_loc” through the Mode parameter, it is possible to perform a simple variation based only on the prompt and the Weight + Denoise parameter or use one of the ControlNET checkpoint models (canny, lineArt etc.…). In this last case, you will have greater control over the image as already happened in the Text-to-Image process.
Finally, the Variation mode allows, as already happened for the Stable Diffusion component based on the DreamStudio API, the possibility of altering the final image through the use of a second image called Mask (MaskIMG is a black-and-white image that acts as a cutout for the BaseIMG source image). In this way, only the white areas will be assigned to the variation of a specific portion of the image.
| AIimgToimg_loc component (AI image variation) | NEW components Right-click context menu |
 |
 |
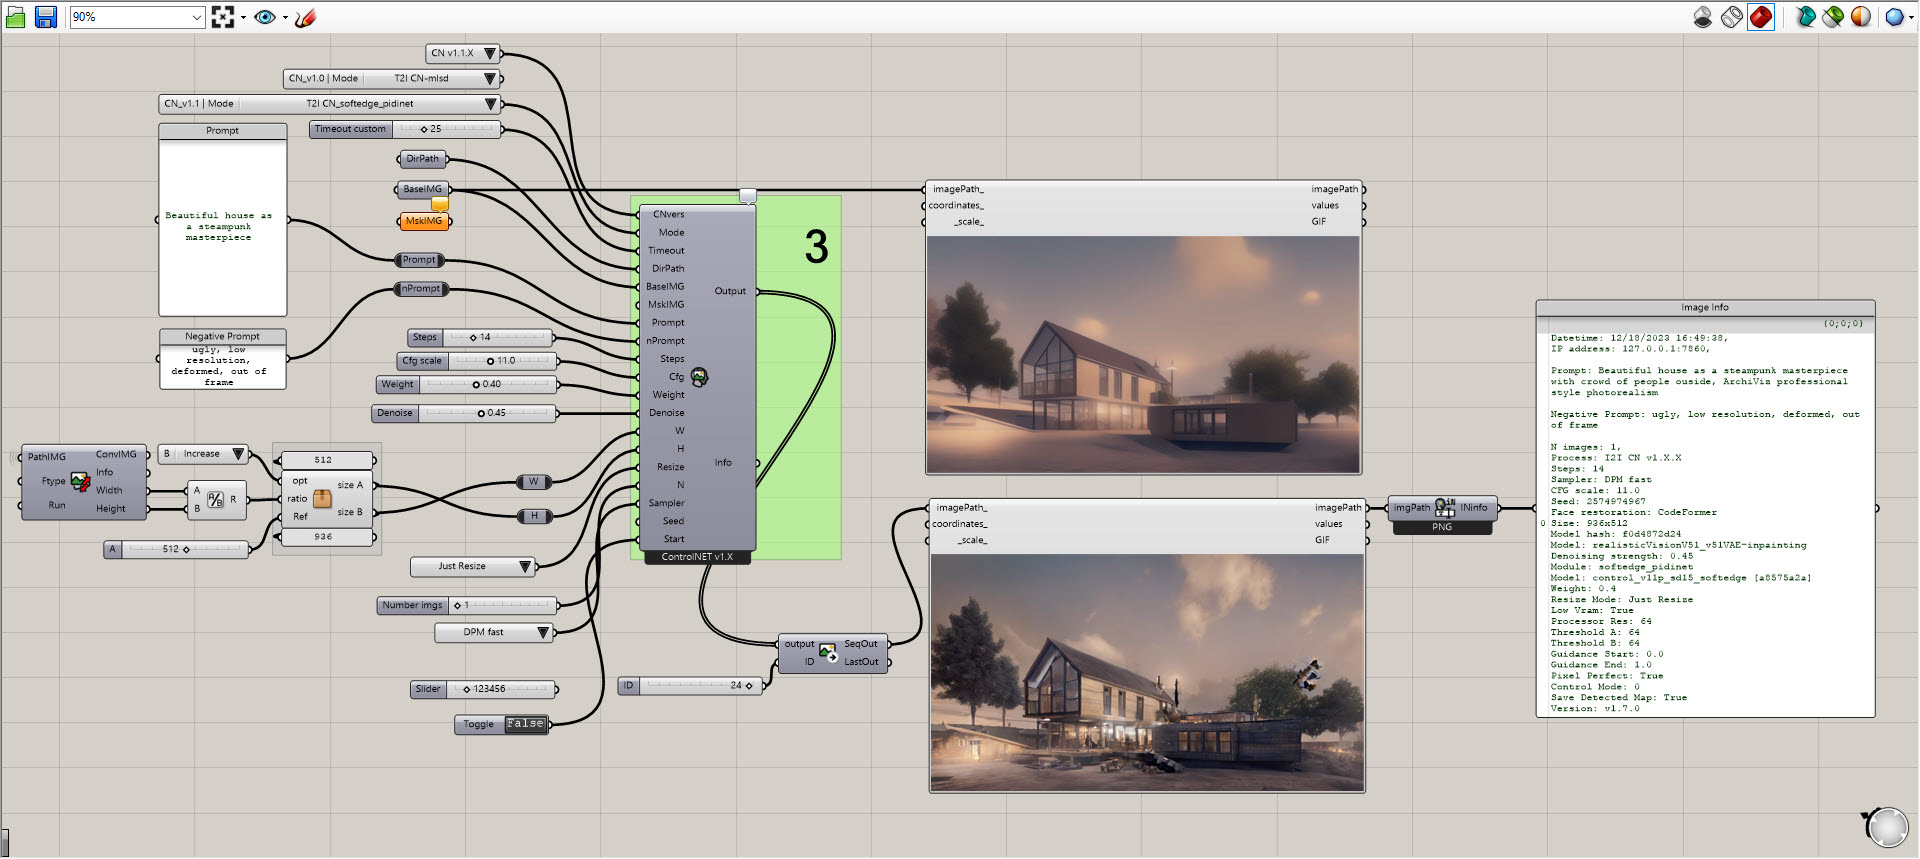
Generally, denoise values around 0.10/0.15 slightly alter the initial image, up to values of 0.70/0.75 in which the final image will no longer have almost anything in common with the initial one. In the experiment I conducted on an image generated from Revit’s Basic House, after using a prompt that described my idea of the image to generate, I altered the denoise values in this way: 0.25/0.30/0.35/0.40 /0.45/0.55.
It is possible to appreciate these small variations up to the maximum from the animation proposed below.
Video demo
Download the demo file from the link below