MeshyAI toolbox for creating 3D assets now through Grasshopper
📣 The Ambrosinus Toolkit v1.2.6 has been implemented with a new feature: MeshyAI extensions. It is another AI tool that brings artificial intelligence power inside the Grasshopper platform.
Are you looking for a way to create stunning 3D assets without spending hours on modelling, texturing, and rendering? Do you want to turn your 2D images or text prompts into realistic 3D textures in minutes? If so, you should check out Meshy.ai, the 3D AI toolkit that makes 3D content creation easy and fun!
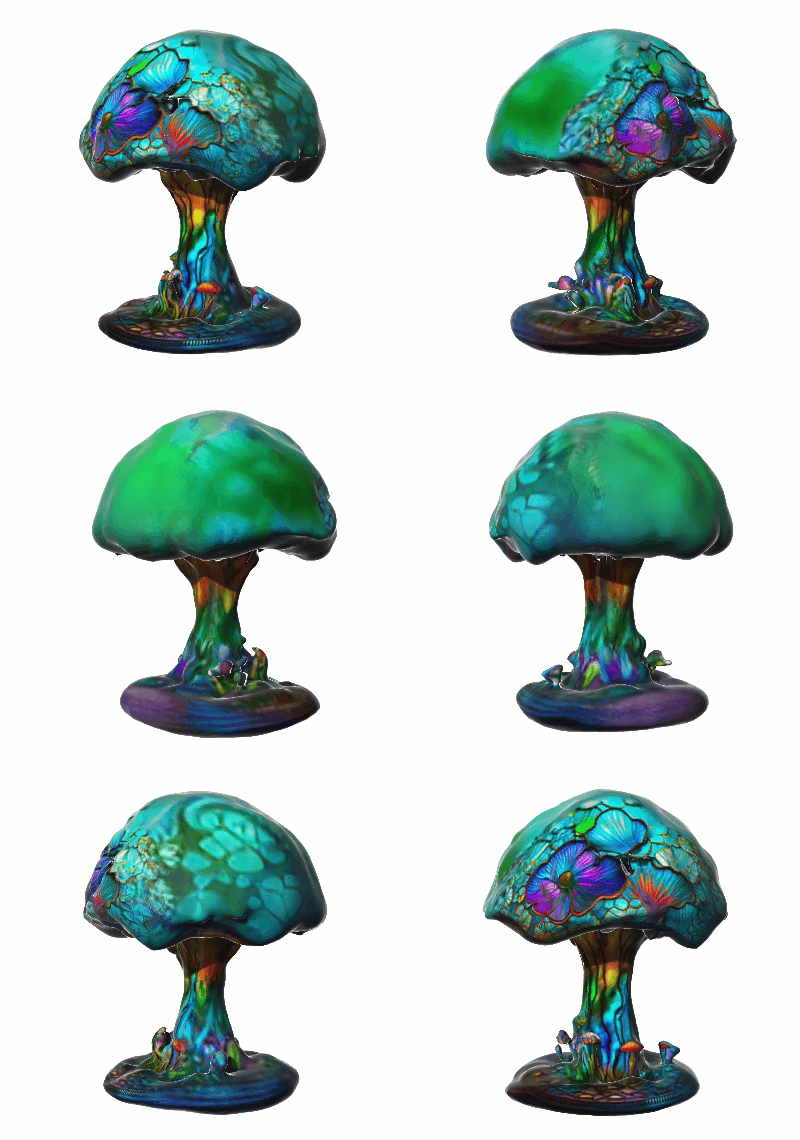
Meshy.ai is a cloud-based platform that leverages artificial intelligence to transform 2D images or text prompts into 3D textures. You can use Meshy.ai to create 3D models for games, animations, VR/AR, e-commerce, and more. Meshy.ai offers the following features to help you unleash your creativity:
- AI-Powered 2D to 3D Conversion: Upload any 2D image and Meshy.ai will automatically generate a 3D texture for it. You can choose from different presets or customize the parameters to get the best results. Meshy.ai can handle any type of image, from photos to sketches to logos. You can also mix and match different images to create unique 3D textures.
- Text Prompt to Texture: Type in any text prompt and Meshy.ai will create a 3D texture based on it. You can use natural language, keywords, or hashtags to describe what you want. Meshy.ai will use its AI engine to interpret your prompt and generate a 3D texture that matches it. You can also edit the text prompt to refine the output or generate new variations.
Meshy.ai is a powerful and innovative tool that simplifies 3D content creation and it is trusted by many partners, such as Microsoft, Adobe, Autodesk, and Unity. If you are interested in trying out Meshy.ai, you can sign up for a free trial and get access to all the features.
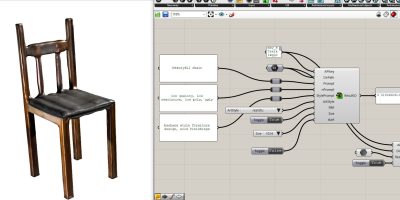
Now, my basic idea was to integrate three main features TextTo3D, ImageTo3D and TextToTexture inside Grasshopper.
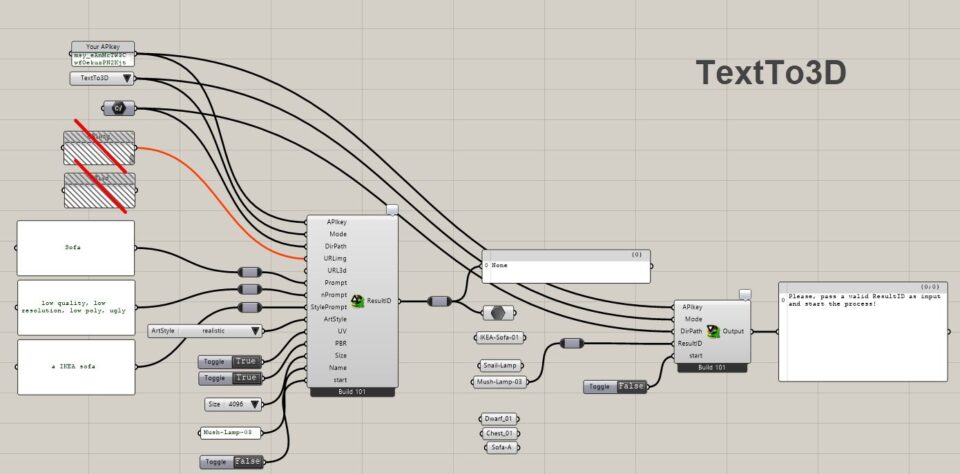
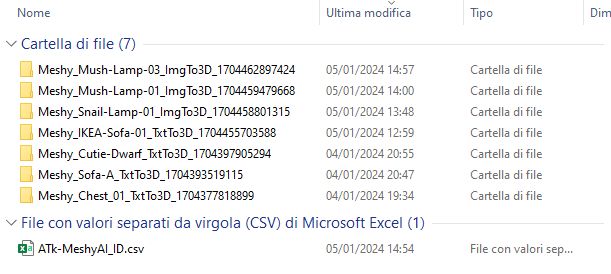
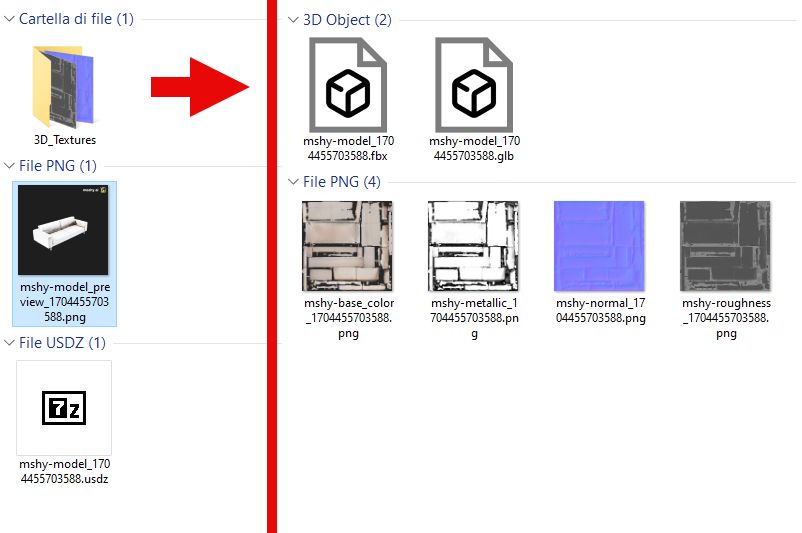
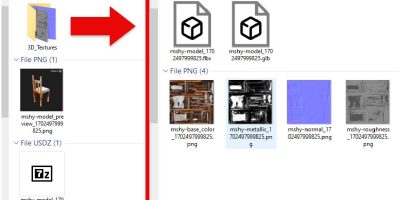
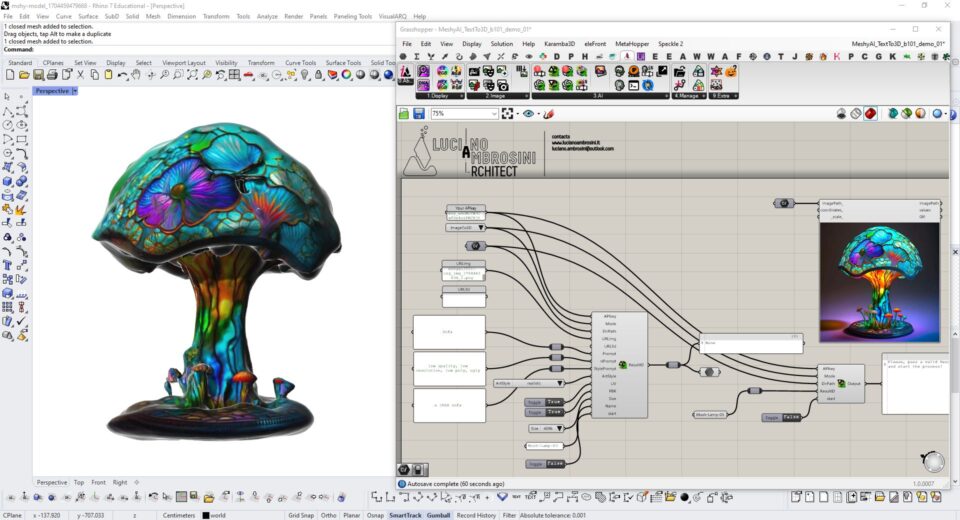
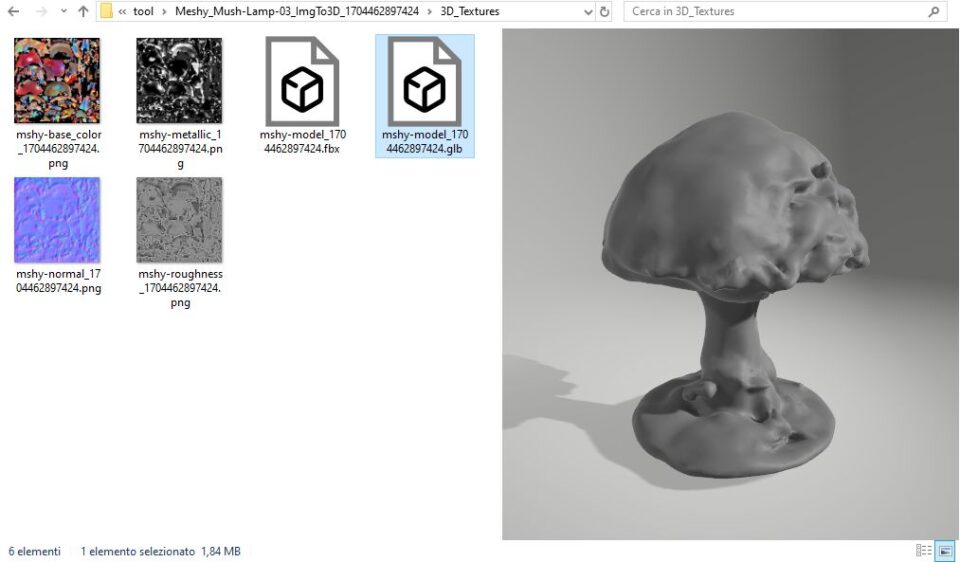
In practice, with these two new components “MeshyReq” and “MeshyRet” it is possible to forward to the Meshy platform the request for processing of one of the three methods just described and subsequently, through the “ResultID” processing code, find and download all the files generated according to a well-ordered structure within a specific folder.
REQUISITES
Like some other components of the 3.AI subcategory, these two components require a couple of requisites to play with them:
- Install this Python library with the pip command:
pip install requests
A Full description of this procedure is available in my first post about this kind of tool here. - From Grasshopper side: Super important! install the exceptional GH_CPYTHON component by MahmoudAbdelRahman (the Python with a black icon – check that the files are “unblocked”) – This is necessary for importing the required Python library and some others to run my ghuser component. Let me say that this point is required to run these tools inside Rhino v7 properly – Anyway, for now, these meshy components seem to have some Python issues in running with Rhino v8 (due to different Python versions included in the code component).
Typical procedures:
The user must always specify API, Mode and DirPath in the input
By registering on the meshy.ai website it is possible to generate a personal API key to use with both components.
TextTo3D: Requires all parameters except URlimg, URL3d and UV;
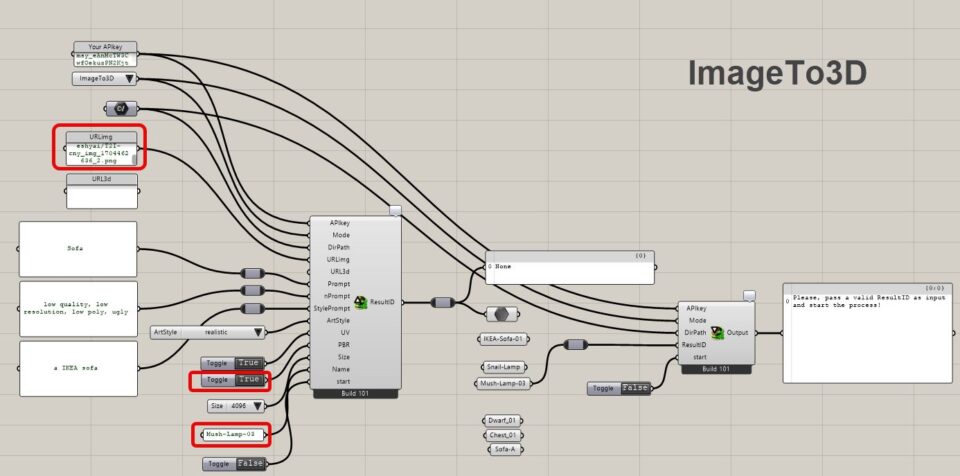
ImageTo3D: Requires only a URLimg and PBR;
TextToTexture: Requires all parameters except URlimg (extracts textures from the 3D mesh object);
IMPORTANT
The MeshyAI platform processes the request asynchronously, this means that it will take a few minutes before the processing is completely completed, but the “MeshyRet” component will help you with this and will inform you about the progress. In any case, for this first build 101, I recommend you always read the output messages coming from the Meshy platform.
For example, in some cases you may find yourself faced with 3 types of errors:
- A large number of requests to the URL to be processed means that you will have to wait a few minutes before sending a new request;
- URL not found means that your ResultID has expired, and you will have to carry out new processing via “MeshyReq”;
- Processing requires payment, it simply means that you have run out of free credits for processing;
Another note is that the URLimg and URL3d parameters must be stored on sharing platforms, i.e. they must be accessible to the platform with a single download link (as expressly described in the platform instructions). For my tests, I used a personal web/cloud space.
Main components
Below are the main components:
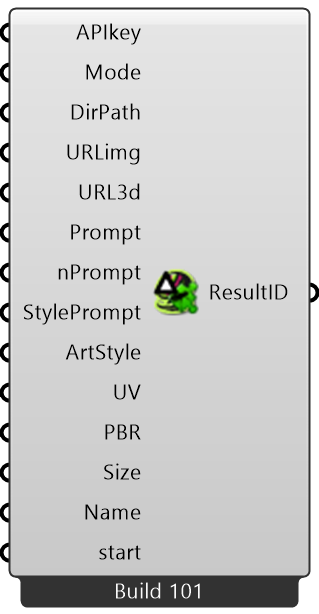
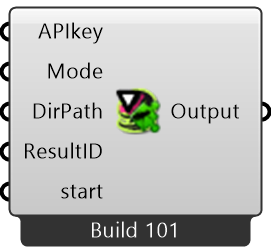
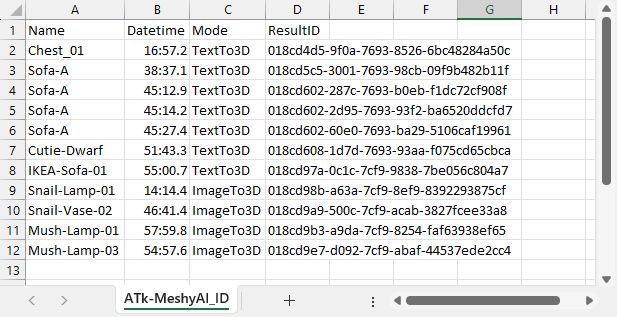
The “MeshyReq” after submitting the generation request for your 3D object, generates a CSV file (in the same folder passed as DirPath) that stores Name, Datetime, Mode and the ResultID.
Video demo
if you watch it on my YouTube channel it is possible to jump among different highlights 😉
Main features from meshy.ai inside Grasshopper
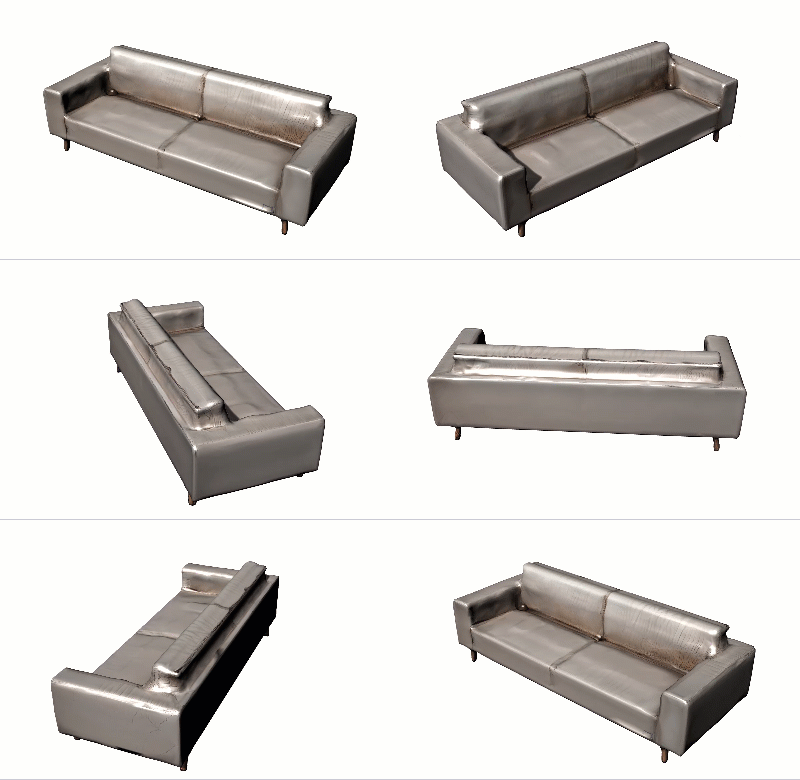
Text to 3D
